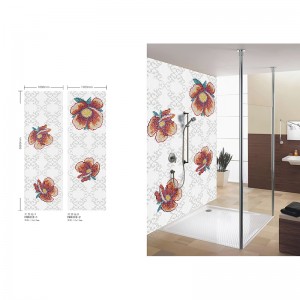
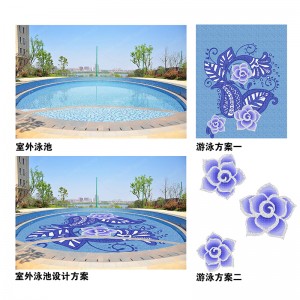
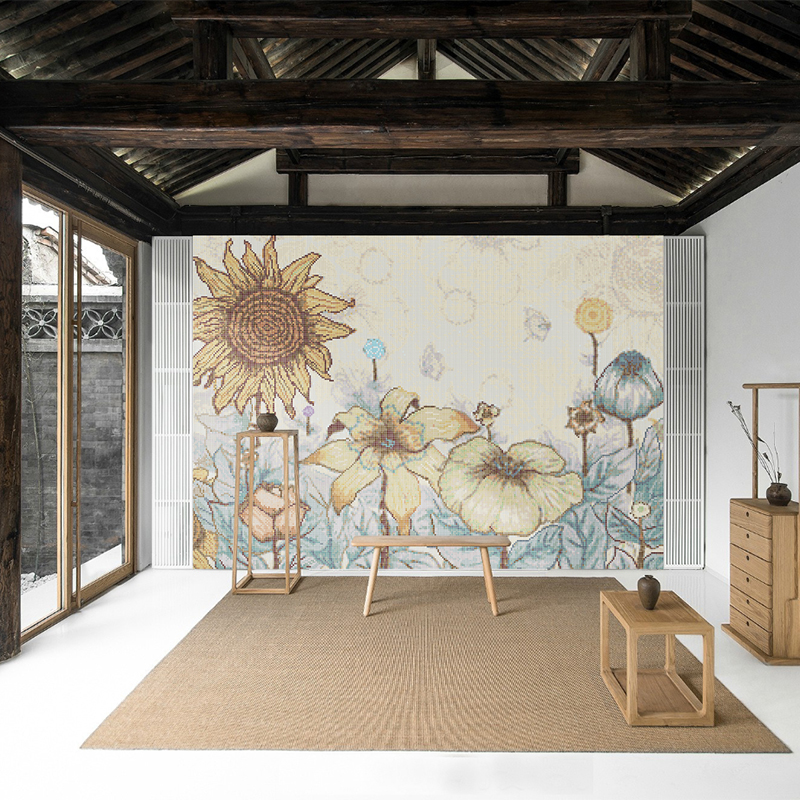
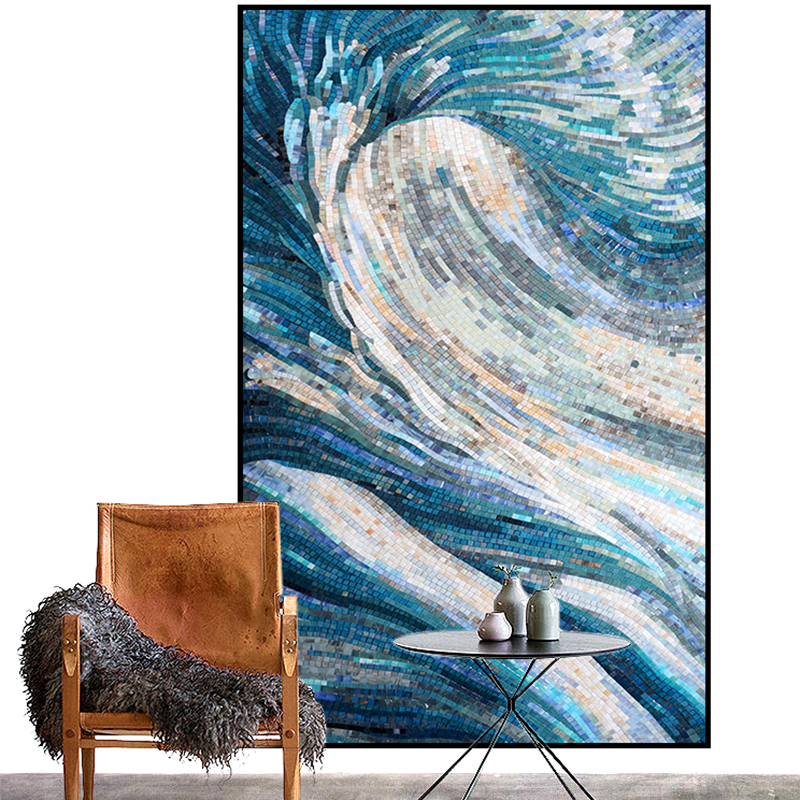
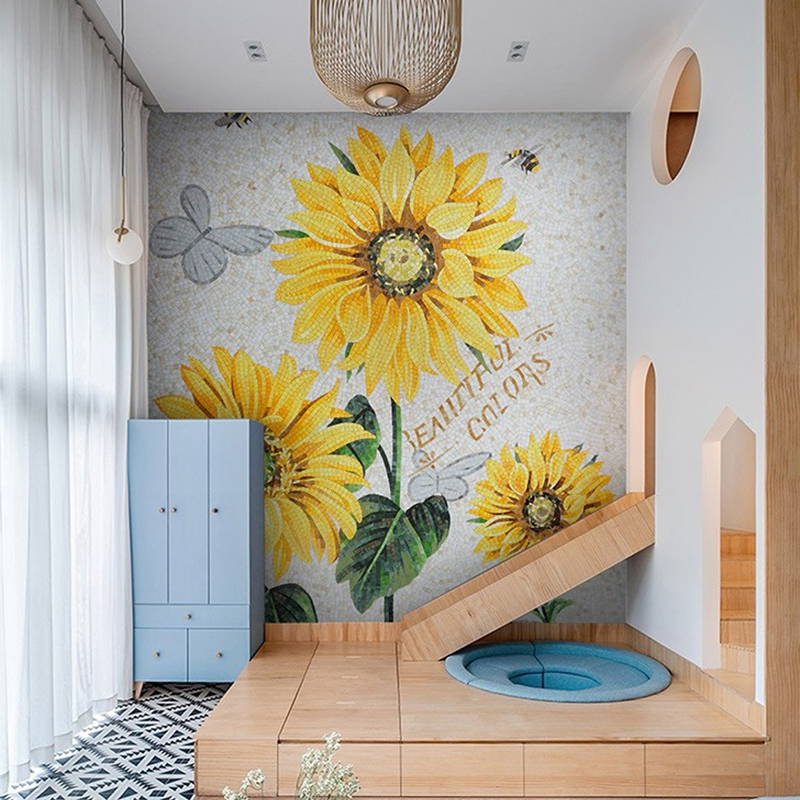
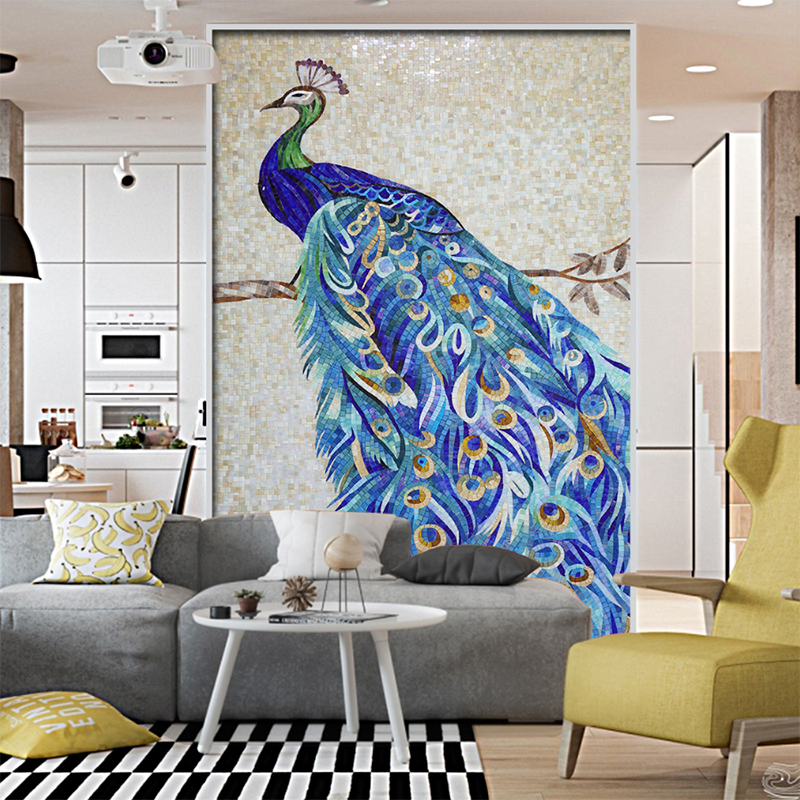
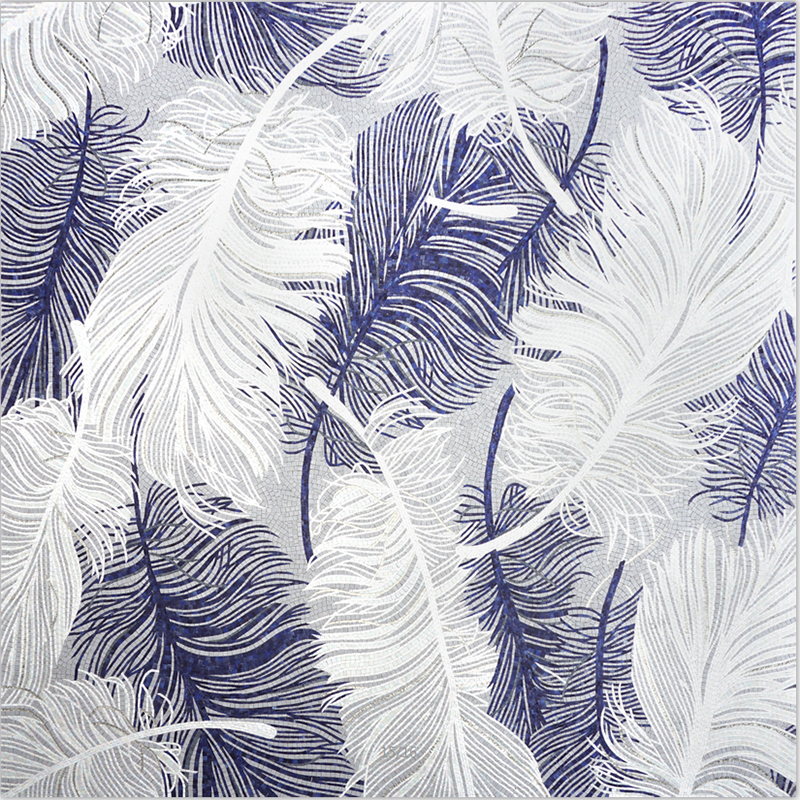
Mosaic cut painting


Features
beautiful quality, suitable for various styles, high quality, environmental protection materials, high standard processing technology, fashion design.
Suitable scene
porch, living room, dining room, hotel, villa
Material
ice jade, porcelain jade, crystal, etc.
How to work
Direct wall pastes (can be cut into pieces and then stitched collage)
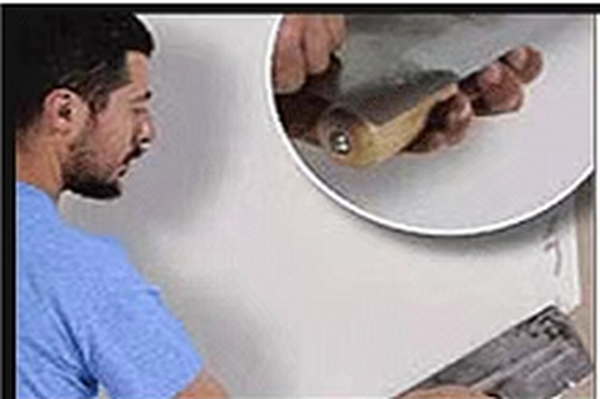
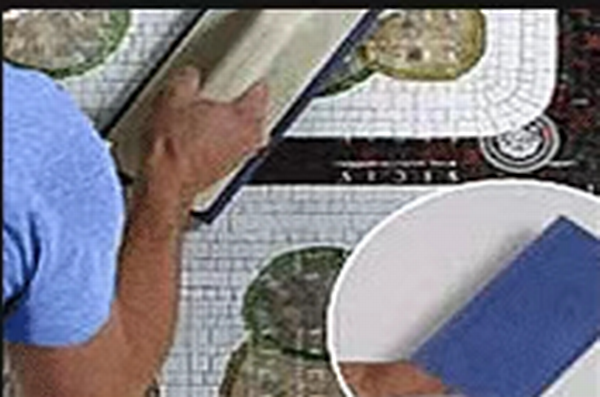
Step 1: Select the position to paste. Place a layer of adhesive on the selected plane. Make the surface flat and smooth with a putty scraper.
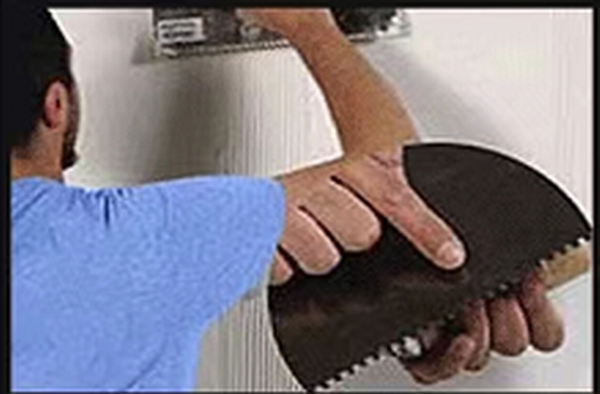
Step 2: Use a professional putty scraper to scrape 2-3mm thick adhesive. Scrap the surface into uniform texture slippery with a tooth scraper.
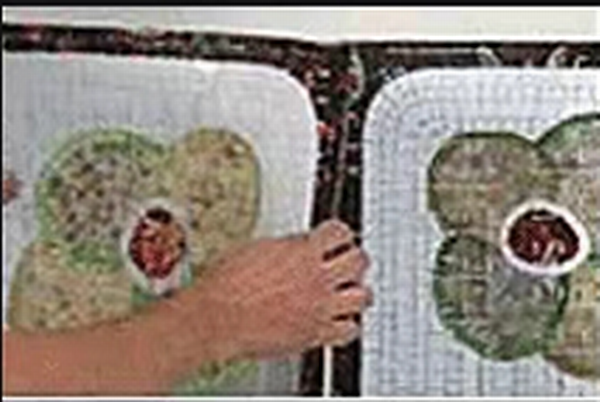
Step 3. Paste on the wall according to the drawing in sequence, please kindly note to close stitching between stickers
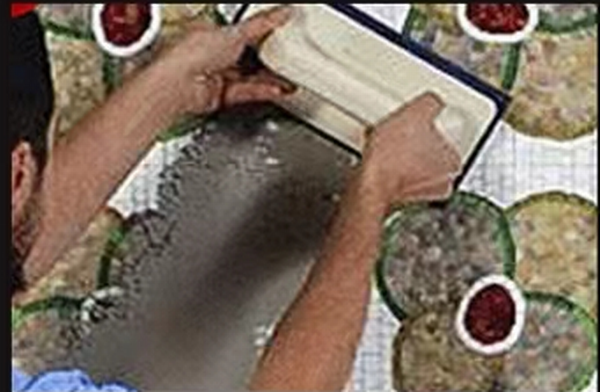
Step 4. After pasting, pat flat and firm with sponge float trowel. Leave the Mosaic in full contact with the adhesive. A wood board could be used to support. Maybe several pieces mosaics need to be removed.
Step 5. After the adhesive is completely dry and fixed (About 24 hours), tear off the protective film. Fill the gap with the suitable filler. Please take a little bit harder when filling the gap by the sponge float trowel, to ensure each gap could be filled completely.
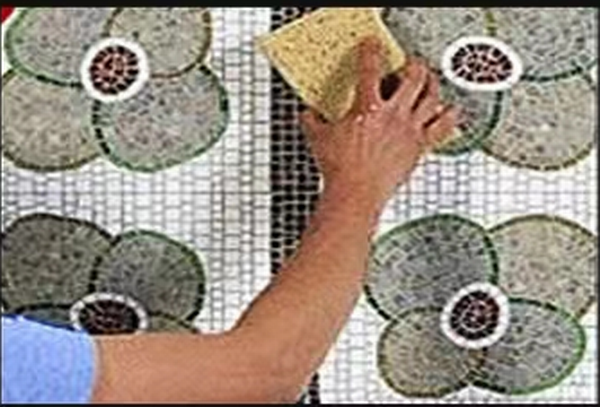
Step 6. Use a slightly wet hand towel or sponge to swab repeatedly, to remove the excess filler at the time to fill the gap.
After pave and paste, clean it with a dry towel to finish the work.